
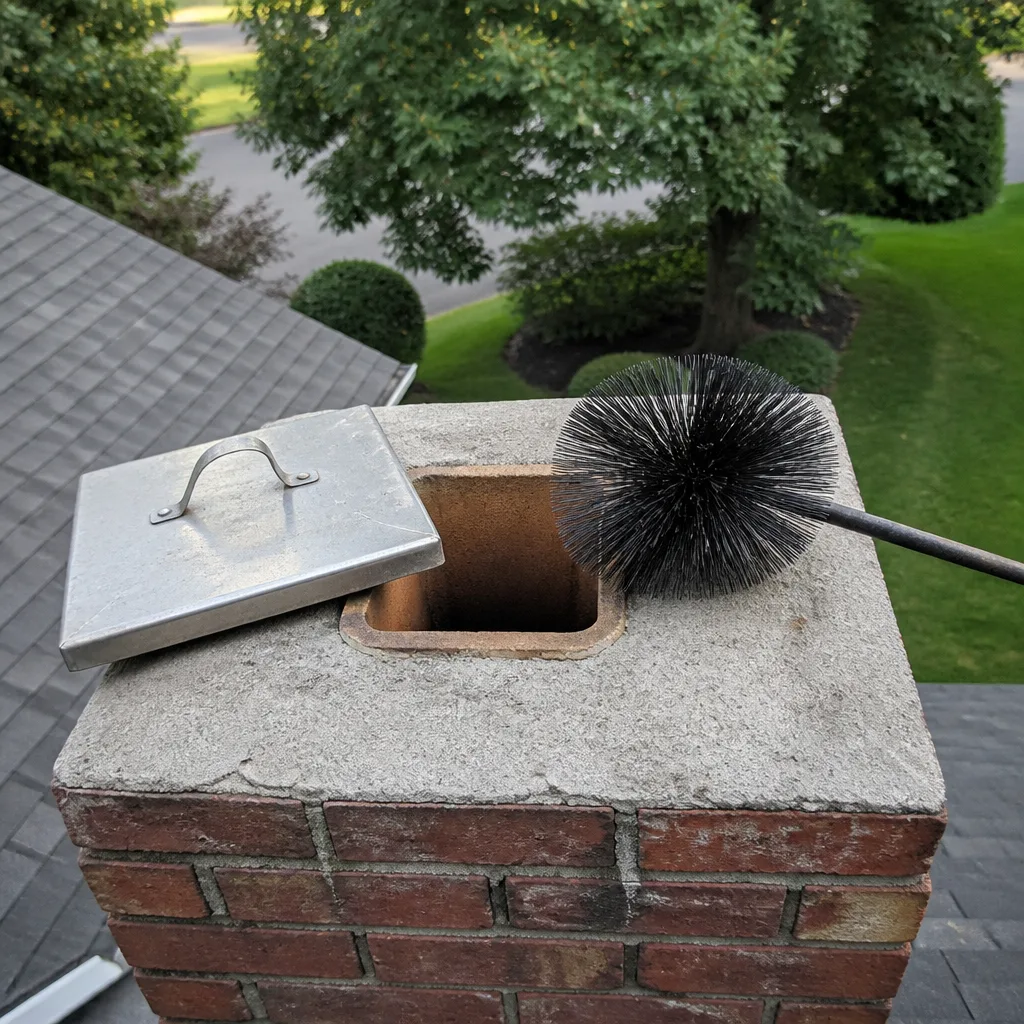
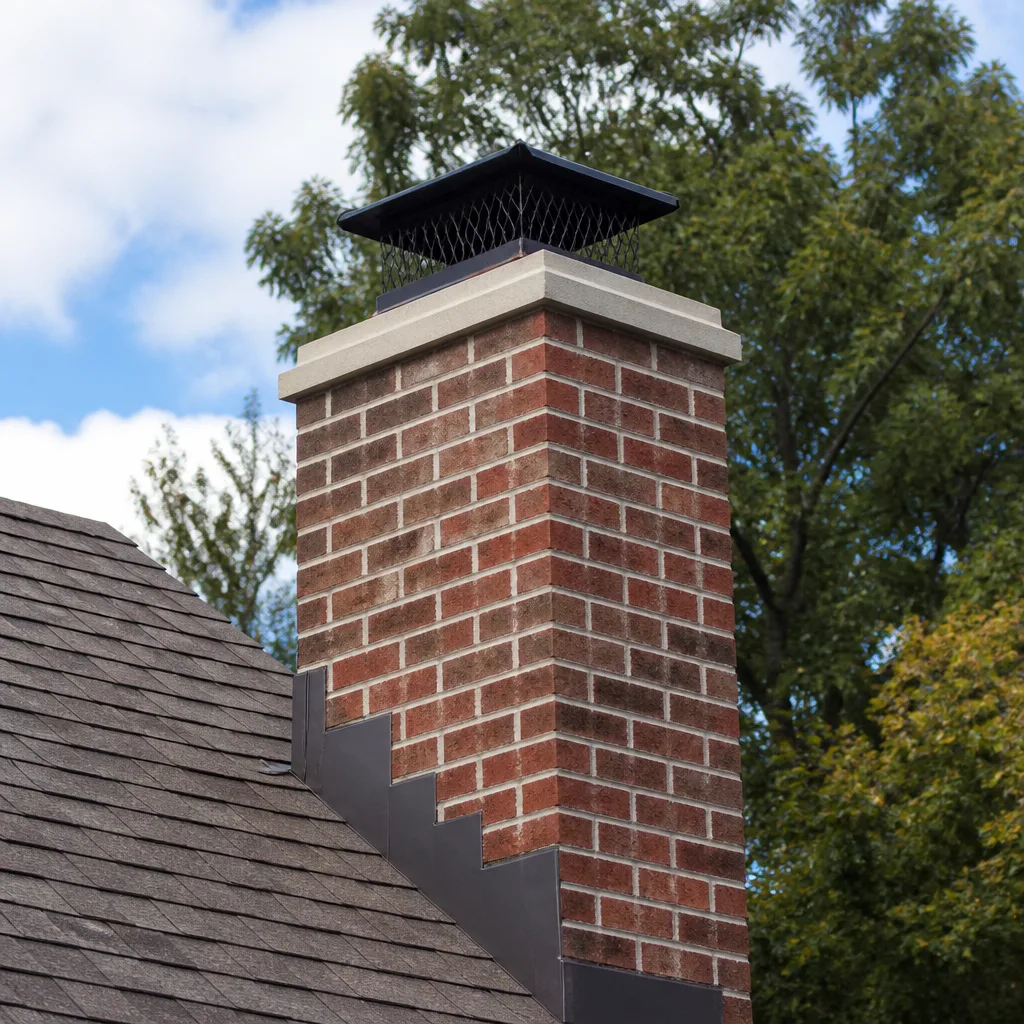
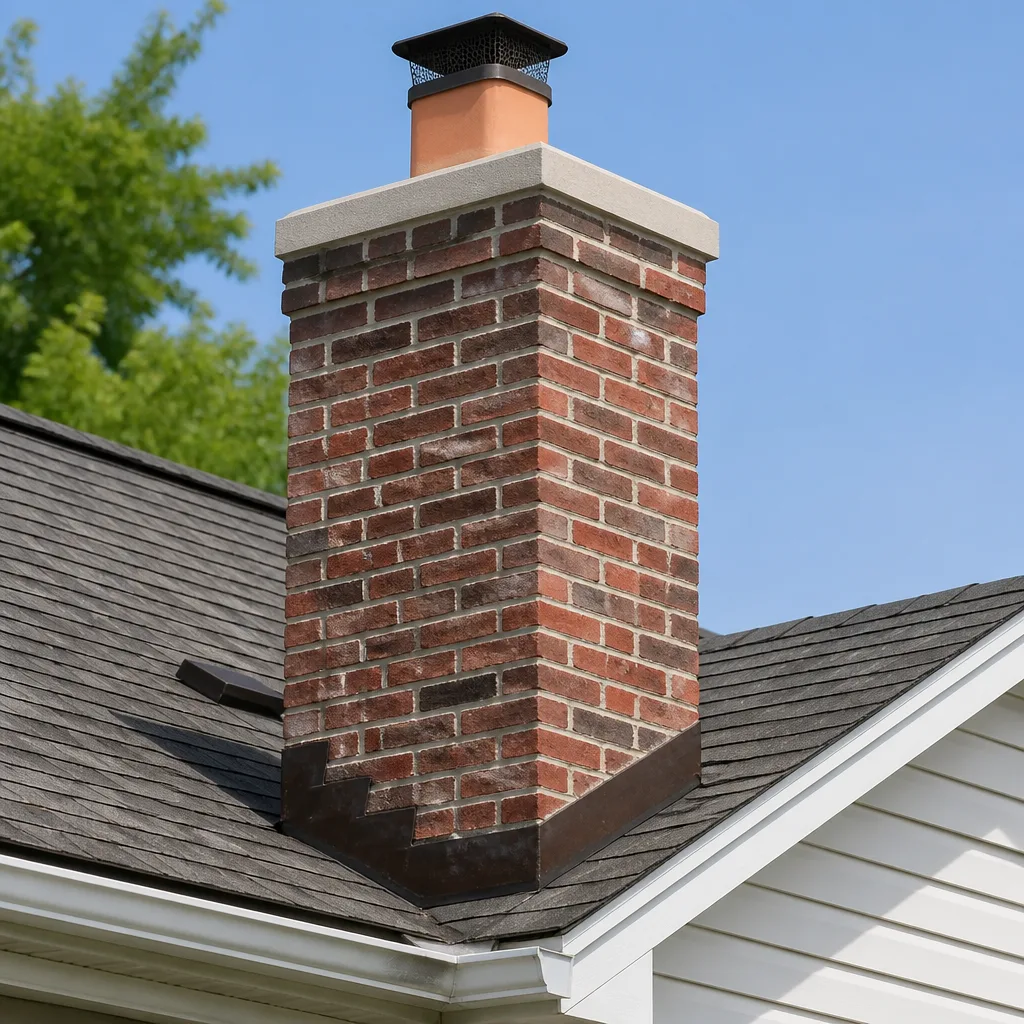
Level 1 sweep and inspection to the NFPA 211 annual standard - flue, crown, cap, and flashing checked and photographed
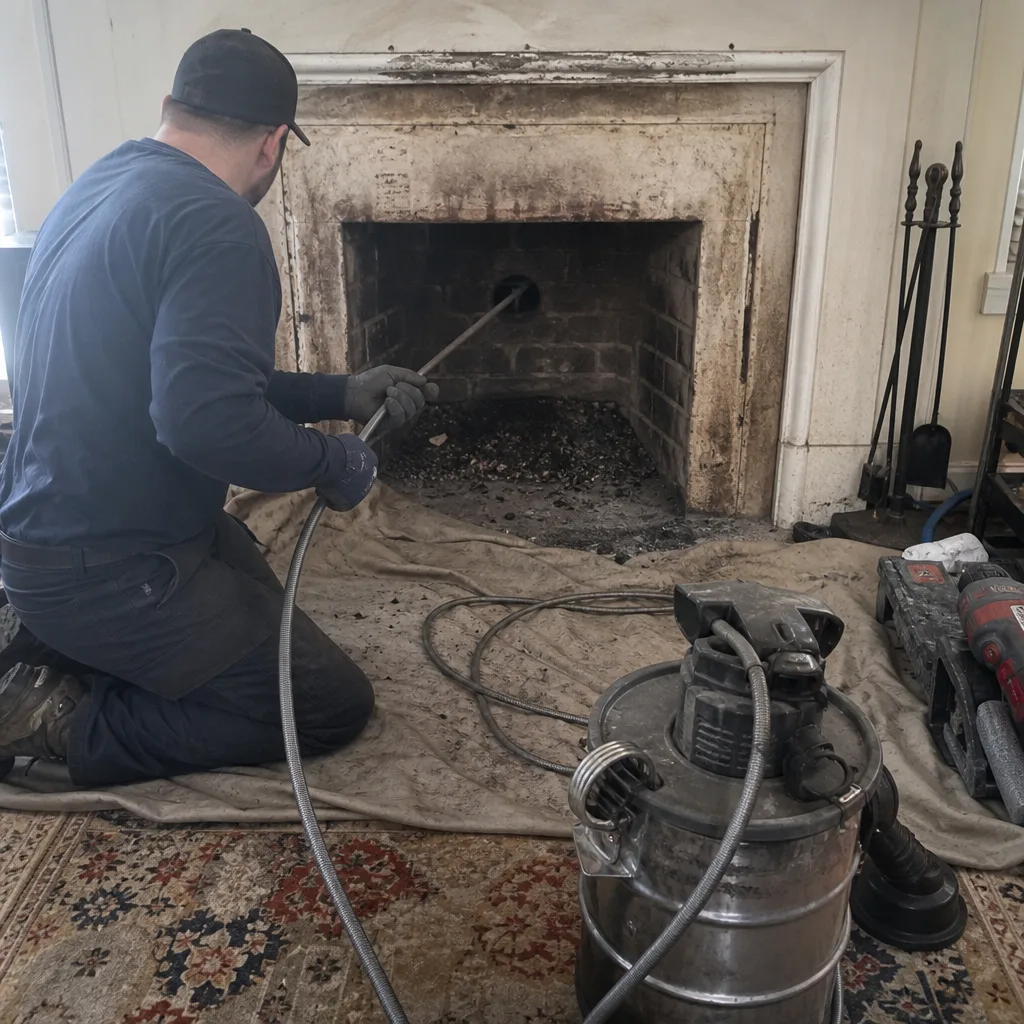
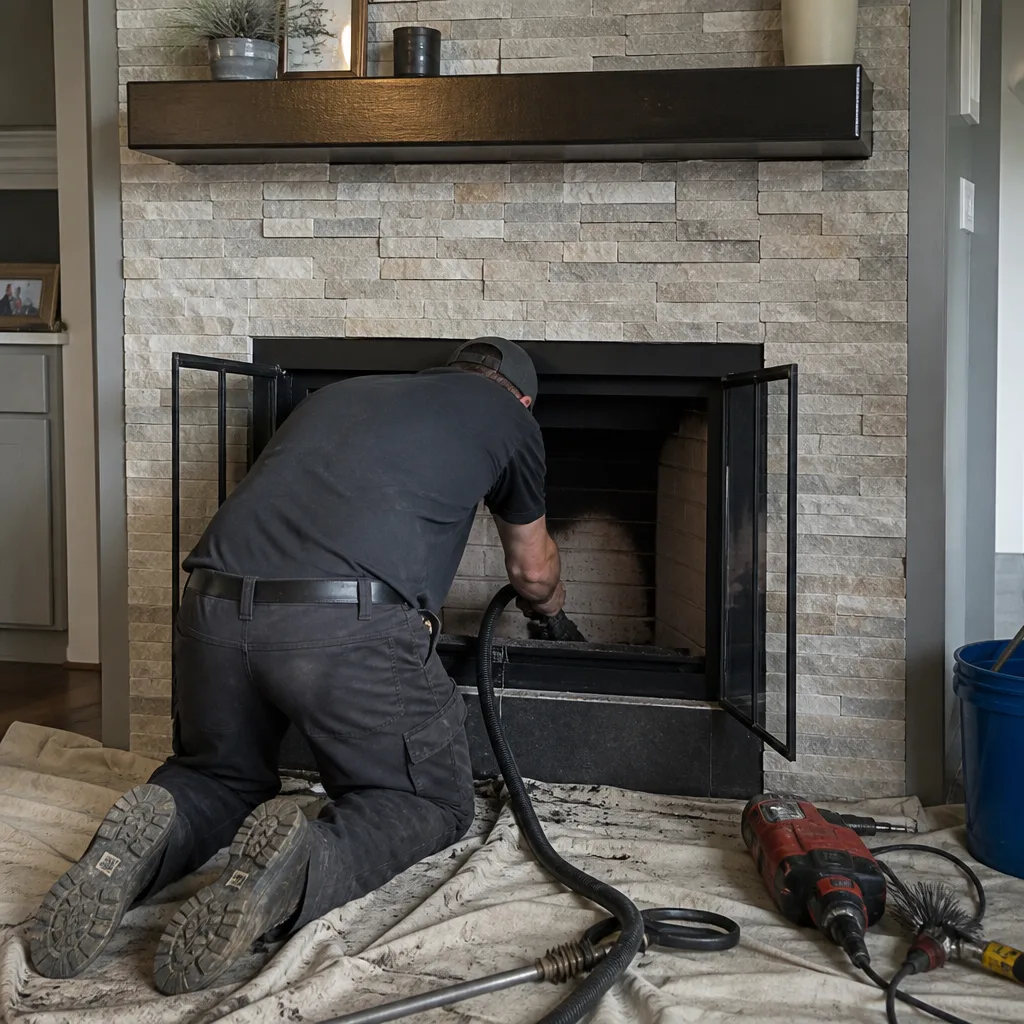
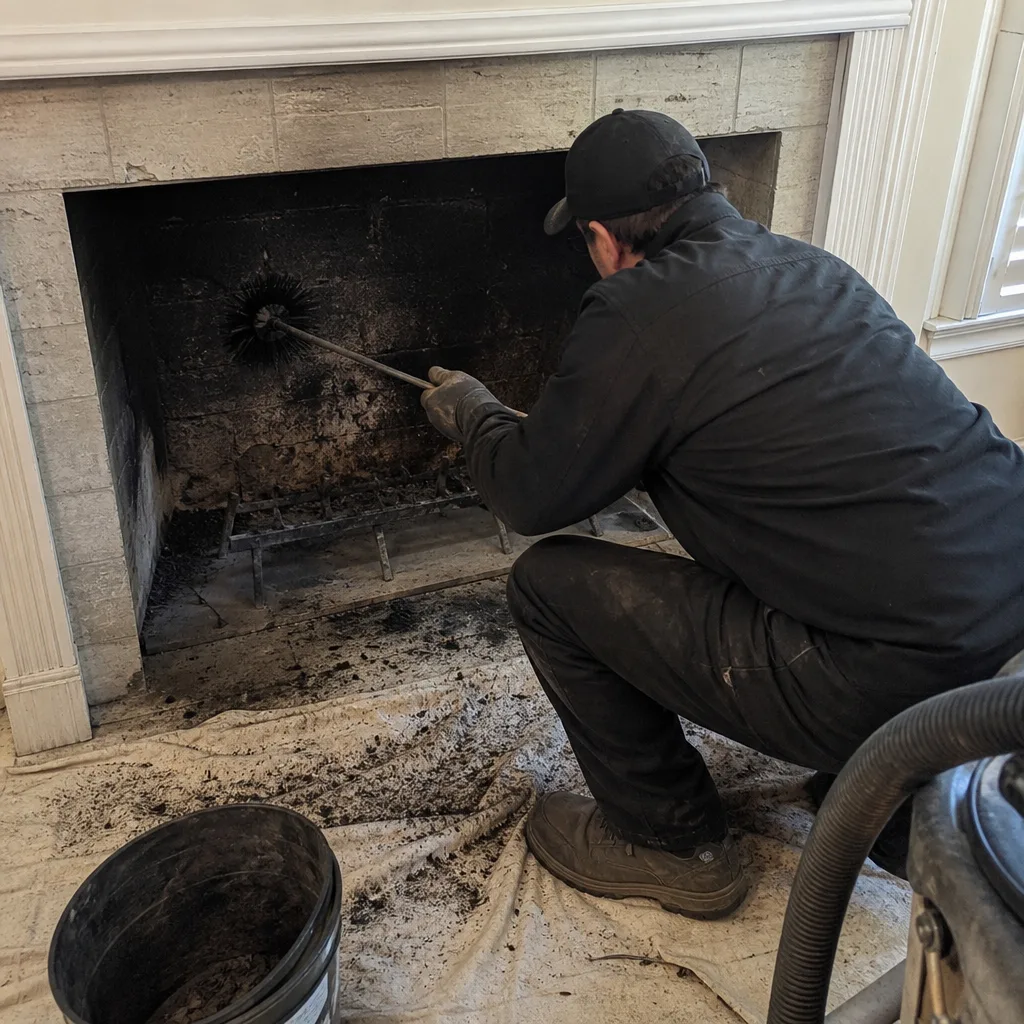
Chimney sweep logs do not sweep chimneys. They loosen some creosote - which then falls where a brush and vacuum still have to collect it.
 Before
 After
After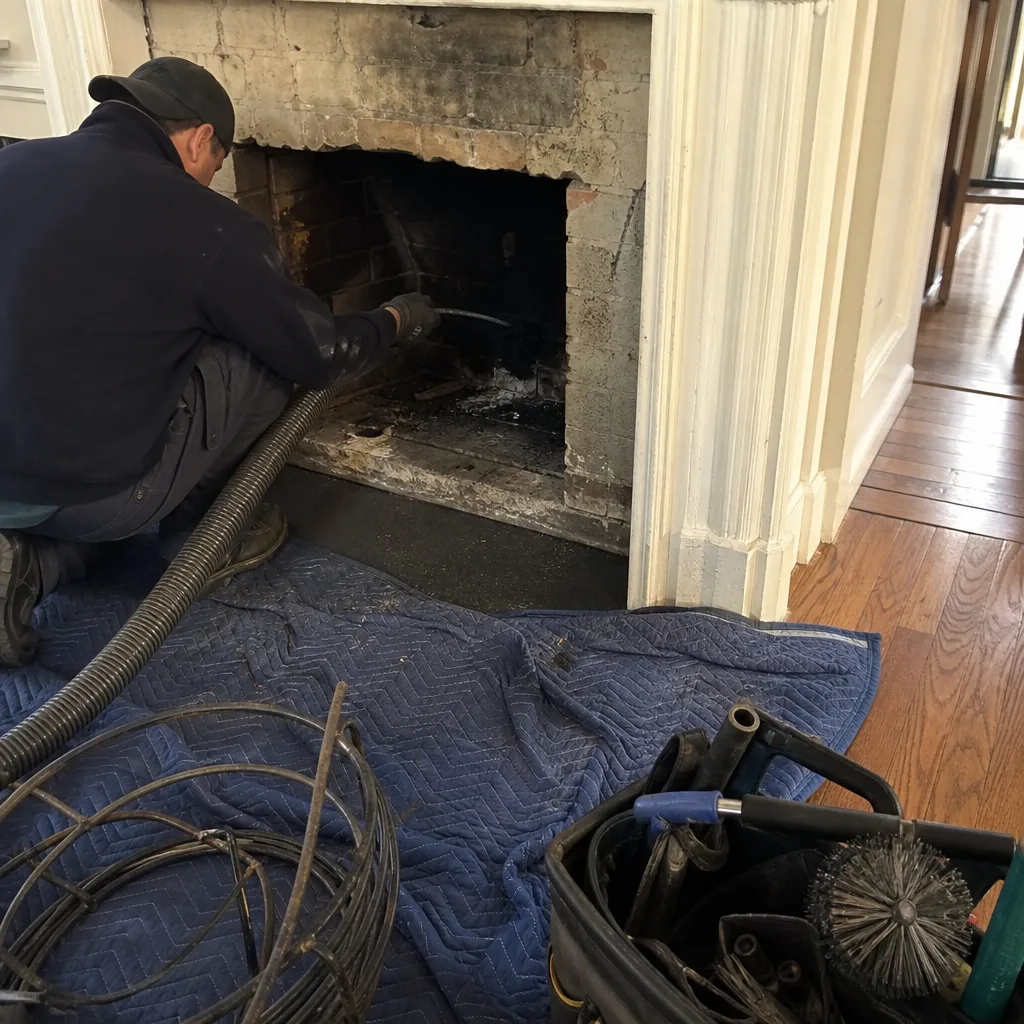 Before
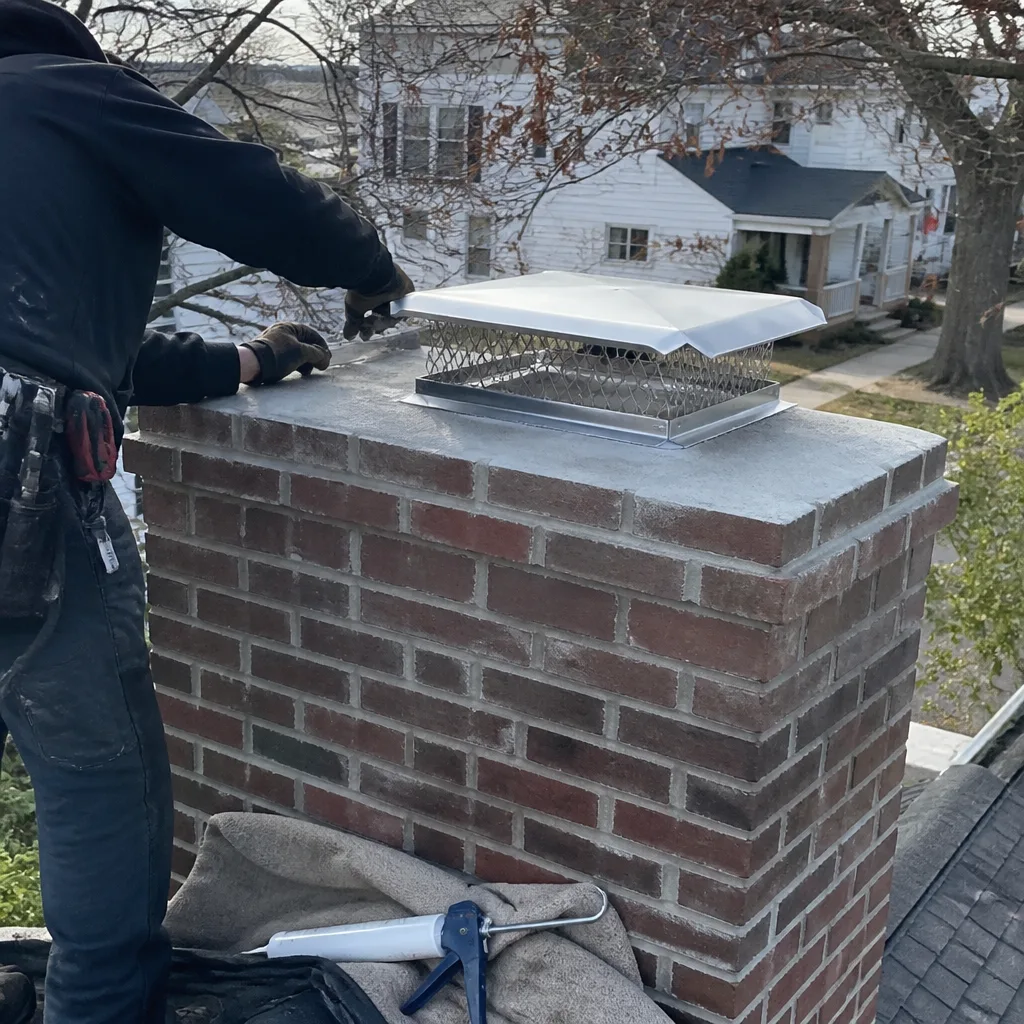 After
After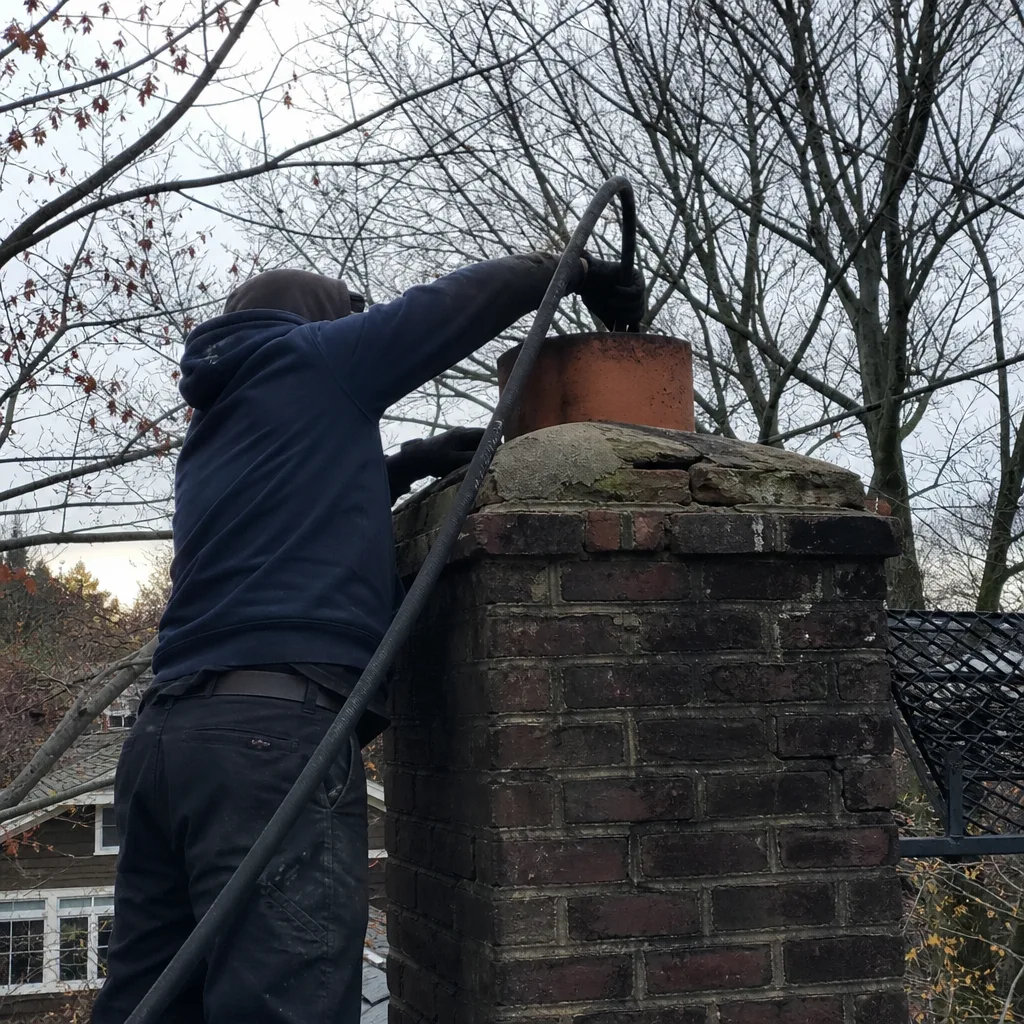 Before
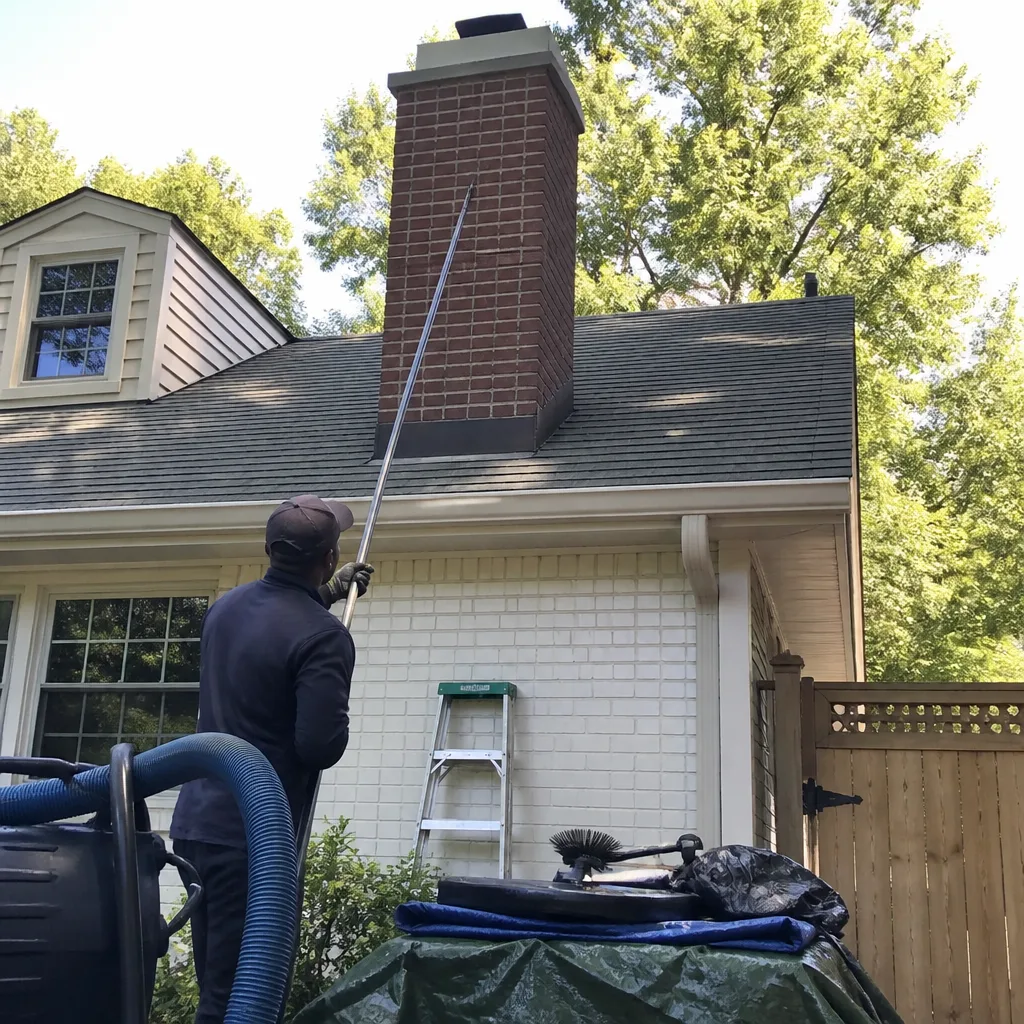 After
AfterGelco Flue Liner Replacement: The Washington Owner’s Guide
A Gelco flue liner replacement in Washington typically runs $2,800 to $5,400 installed, depending on the flue height, liner diameter, and whether we’re pulling the old liner intact or breaking out a failed one. We stock Gelco-compatible smooth-wall and corrugated liner sections in 4-inch through 8-inch diameters, so most single-family DC rowhomes and detached homes are a one-visit job. Most owners discover the problem during a Level 2 camera inspection after a sweep, or because the furnace or water heater started drafting poorly or setting off a carbon monoxide detector on the same flue run.
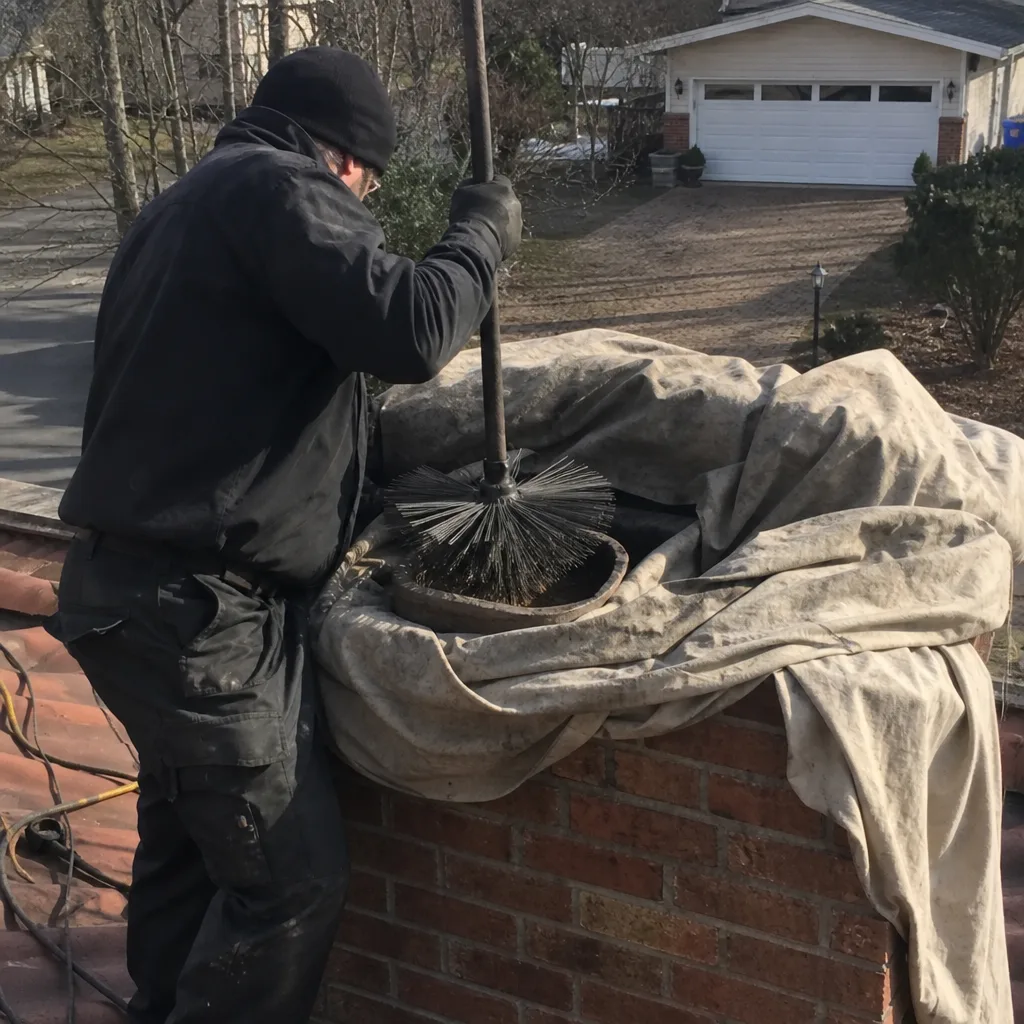
When we pull a camera down a Gelco liner that’s reached end of life, we’re usually looking at one of three things: a separated seam near the top where heat and condensation have been working on the joint, a crimped section that rusted through from the inside, or a liner that was never the right diameter for the appliance in the first place. All three look the same from the living room: nothing’s wrong until it is.
Which Gelco Models This Applies To
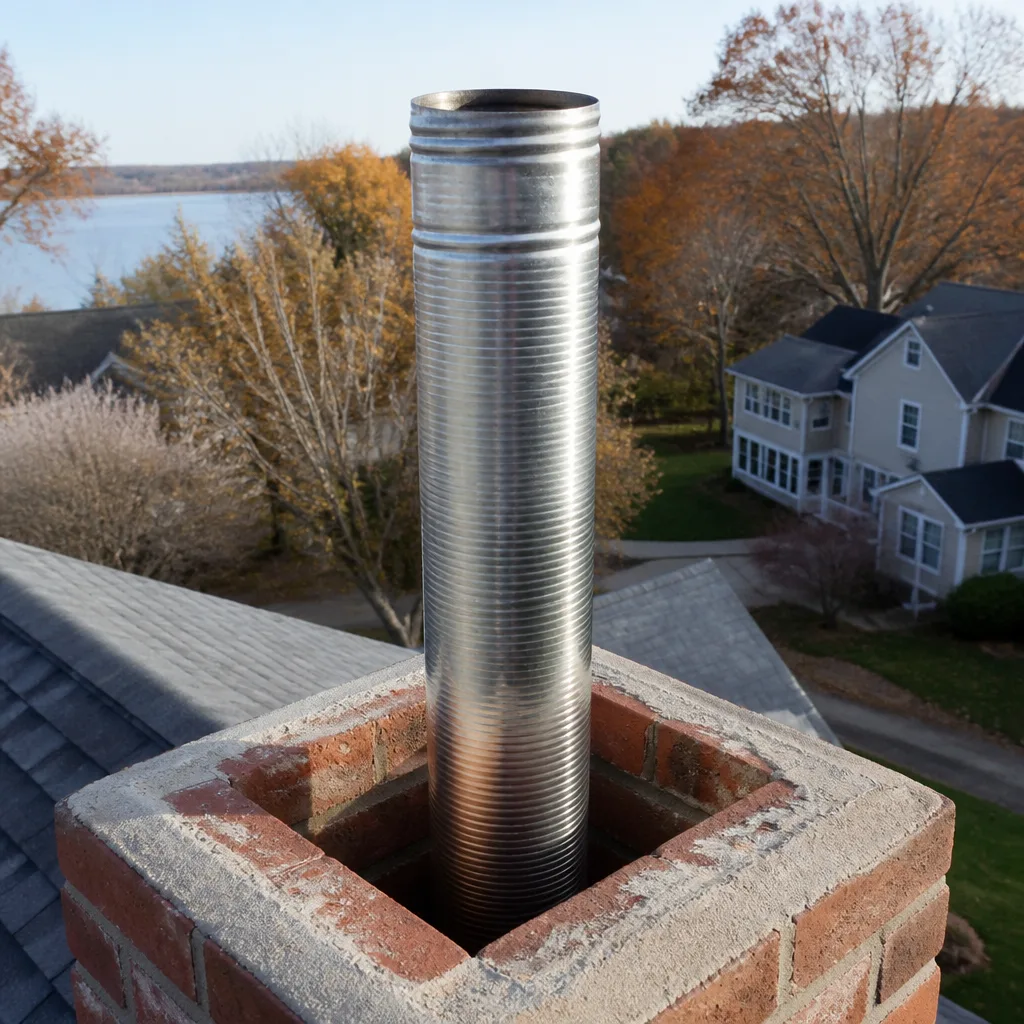
Gelco manufactures rigid stainless flue liners under a handful of series names that contractors install through the 1990s and 2000s, and we see most of them in Washington’s older housing stock. The parts we match most often are Gelco’s 300-series (304 stainless, common for mid-efficiency gas furnaces and water heaters) and the less common 316-series used for oil or higher-temperature gas applications. If you can find the UL listing plate on the liner’s exposed top section at the chimney cap, it’ll usually carry a Gelco stamp and a diameter marking like “5IN” or “6IN” that tells us the exact replacement spec before we order anything.
The compatibility gotcha with Gelco liners is diameter and wall thickness, not brand fit. A 5-inch ID Gelco section won’t properly mate with a 5.5-inch flex connector or a 4-inch appliance collar without an adapter, and adapters are where leaks start. We measure the actual inside diameter with a caliper during the inspection, not from the box the previous contractor left in the basement. If the old liner is unmarked or too corroded to read, Corrine Halstead has been running camera inspections here long enough to identify most Gelco runs by their seam pattern and crimp style.
On the OEM-versus-aftermarket decision: Gelco no longer sells direct to the public, and their OEM sections through a supply house are often double the cost of a quality 316L stainless equivalent from DuraFlex or HeatShield. We stock all three. For a gas furnace retrofit where the liner terminates inside a masonry chimney, a fully welded 316L smooth-wall section frequently outperforms the original 304 Gelco at a lower material cost. We’ll write the exact manufacturer, alloy, and gauge on your quote before we install a single section.
Signs Your Gelco Flue Liner Replacement Is Failing
- Rust streaks or staining on the chimney crown or attic masonry around the flue. This is condensation wicking through the liner wall, which means the liner has already perforated. Water that gets through a Gelco liner doesn’t fix itself; it accelerates the failure and gets into mortar joints on the way down.
- Water heater or furnace draft-hood backdrafting, or a pilot that keeps blowing out. A cracked liner lets outside air press down into the flue, which drops draft pressure. Your appliance starts spilling combustion byproducts into the mechanical room instead of up the stack. This is a carbon monoxide exposure path, not a comfort problem.
- Flakes or metallic debris in the cleanout at the base of the chimney. When we open the cleanout and see chips of stainless that match the liner, that’s spalling from internal corrosion. On a Gelco liner, it usually starts at the welded seam, which is the thinnest point after years of acidic gas contact.
- A visible gap or separation at the liner top, where it meets the cap or crown wash. Gelco liners expand and contract with Washington’s freeze-thaw cycles. The top joint is the most common failure point on houses in Georgetown, Capitol Hill, and Takoma where the exposed section takes winters without a proper rain cap.
- You’ve never seen the liner - and the house came with the appliances. We don’t list this as a failure, but it’s the reality on hundreds of Washington homes we inspect each year. The liner is part of the fuel delivery system. If there’s no record and no camera footage, treat it as unknown until a 15-minute look proves otherwise.
BeforeAfterReplacement Cost & What’s Included
A full Gelco flue liner replacement in Washington runs $2,800 to $5,400 installed, with most standard-height rowhome flues landing between $3,100 and $3,800. That number includes the liner sections, top plate and storm collar, the adapter to your appliance connector, pulling and disposing the old Gelco liner, and a camera-scan verification after the new liner is seated. We don’t charge extra for the camera; Clause 4 of the Haven Standard requires a documented photo record on every job, and that’s how we prove the new liner is continuous from appliance to cap.
What drives the price: flue height (a four-story Capitol Hill row house runs more material than a one-story bungalow in Petworth), interior dimensions (a 7-inch or 8-inch liner costs meaningfully more per foot than a 5-inch), and whether the old liner pulls out in one piece or has to be sectioned loose from a deteriorated crown. If the crown needs rebuilding at the same time, we write that as a separate line item so you see exactly what’s liner work and what’s masonry.
Every quote from us is a written price before any work starts. No exceptions, no “we’ll see what we find” pricing. We also honor a free second opinion on any written estimate: bring us a competitor’s quote and we’ll review it against our scope and number, line by line.
DIY or Call Us?
We want any homeowner to understand the mechanical system they own. What you can safely check: the top of the liner at the cap using binoculars from the ground, rust staining around the chimney in the attic if you have access, and the color and condition of the liner through a cleanout door with a flashlight. None of that will injure you.
What you shouldn’t do: remove a Gelco liner section yourself. A failed liner in a masonry chimney is under lateral pressure from its own corrosion and the surrounding flue tiles, and pulling it without a pull cone and the right rigging turns a straightforward extraction into a tile collapse or a section wedged halfway down the flue. We’ve been called out after those attempts in Washington more times than Corrine Halstead wants to list. The work also means working on the roof, usually in cold conditions, with a live gas appliance shut off at the service valve below. If any part of the job is high-tension or height work, it belongs to a trained professional with the right harness and a spotter.
If you suspect a Gelco liner has failed, call us at (240) 621-1264. We’ll schedule the inspection, put the camera down the flue, and give you a written price with photos before you decide anything.
FAQs
A Gelco liner in a Washington chimney typically lasts 12 to 20 years, depending on the appliance’s fuel type, the liner’s alloy, and how well the flue has been maintained. Gas furnaces and water heaters that short-cycle create more condensate, which wears the liner wall faster than a steady oil burn. We’ve pulled 25-year-old Gelco sections that were still sound, and we’ve pulled 8-year-old ones that looked like lace at the weld seams. Your camera scan gives you the actual remaining life, not an estimate based on the install date.
In some cases, yes: a pin-sized perforation or a failed seam near the top can be patched with a stainless weld or a properly sealed banded coupler. But if the corrosion is widespread or the liner has separated in the middle, a partial repair buys you a year or two while the rest continues to fail. We’ll show you the camera footage, explain what’s repairable, and tell you plainly when a replacement is the cheaper decision over three years. Call (240) 621-1264 and we’ll get you the documentation to make the call.
A standard Gelco liner replacement in Washington runs about 3 to 5 hours from setup to final camera verification, depending on flue height, weather, and how easily the old liner extracts. Most jobs are done in one visit, and your furnace or water heater is back in service the same day. If the crown needs patching or we’re rebuilding the top section, that may add a second day.
We keep Gelco-compatible smooth-wall and corrugated liner sections in 4-inch through 8-inch diameters on every chimney truck, along with DuraFlex and HeatShield equivalents, top plates, storm collars, and appliance adapters. Corrine Halstead has been running replacement work across Washington long enough to know that the part you need is rarely the one you planned for, so we carry the common sizes and round up the rest from our local supply network the same week.
Written by Corrine Halstead, Owner, Level Two Chimney Washington at Level Two Chimney Washington, serving Washington and nearby areas.